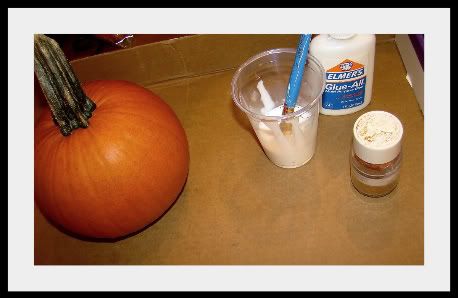
Pour some Elmer's glue into a container and add a little water to thin.
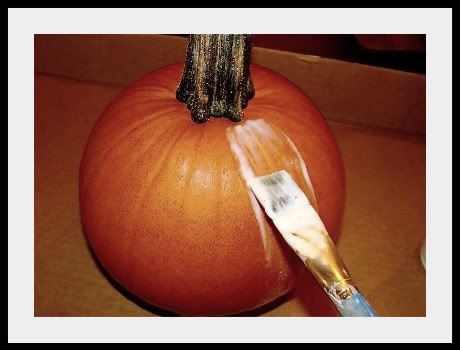
As quick as you can, put the glue over the entire pumpkin. Work quickly because the thinned glue will sometimes dry fast.
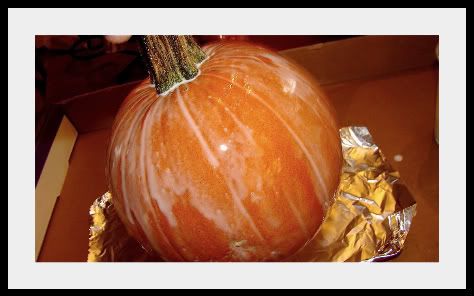
You don't want to do it in sections because the glitter will clump up and you won't get a smooth finish. (I like Martha Stewart's glitter.)
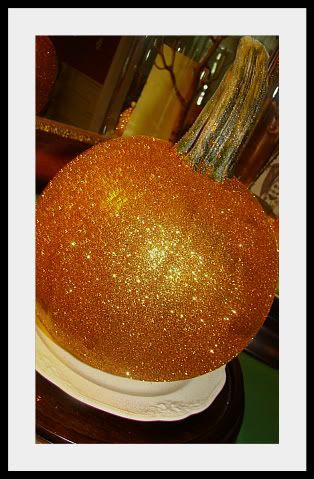
Add a little glitter to the bottom of your tray( so when you sit the pumpkin down, the base of it gets covered instead of smeared) Then, starting from the top add glitter moving in a circle all the way to the bottom. Allow plenty of drying time. Especially if you are putting it under a glass dome. It will fog up the glass if still wet.
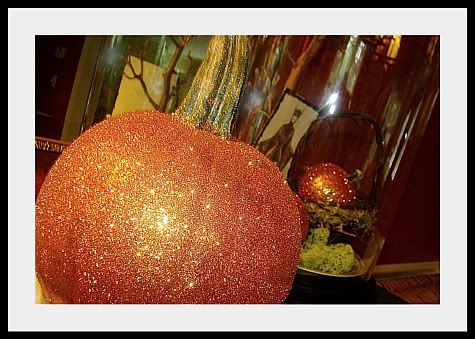
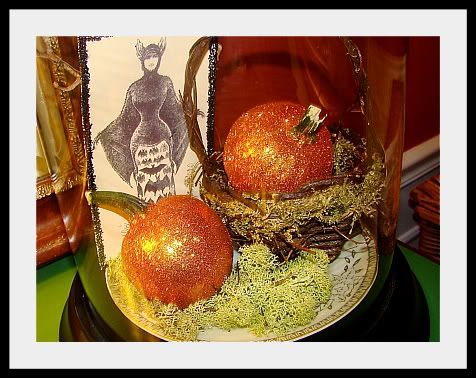
There you go! Now your glittery pumpkin is ready for display.
Happy decorating,
Stephanie


Steph,
ReplyDeleteThat looks amazing!
I love it!! I really want to make one now! Thanks.
ReplyDeleteHi Stephanie! Love your blog! Just found you through the Farm Chicks. I'll be making those pumpkins--thanks for such a great idea! I'm a huge lover of all things vintage and glittery--I'm a vintage-style card maker, and I'm afraid I go a little overboard with the glitter, but that's what it's all about, I say! I'll be back often...
ReplyDeleteI love the glittered pumpkin. What a great idea and so easy. Thanks for sharing that project with you. And, by the way, yours looks so much better than one you could buy. Well done!
ReplyDeleteSo beautiful Stephanie! GRRRRReat tip on putting the glitter on the plate before you set it down to dry!!!! BTW I bought the Vintage Milk lid Magnets you made. They are so cool. My kids think so too. They look great on the fridge, thanks!
ReplyDelete