Tuesday, February 23, 2010

Kids Craft Area


I cleaned the kids craft area this week so
 I thought I would snap a few pics before it got trashed again. 
I'm thinking that will be before dinner.


The previous owners left us the long white table.  
It weighs a ton so I can see why they didn't want to take it.
I added two cabinets from Lowes at each end and connected everything with a peg board.


Peg boards are easy to paint if you use a roller.
 I buy these mini rollers from Sherwin Williams that work great.
I use them on all of my furniture painting too.


When you hang your peg board, don't forget to attach it to a
 piece of wood that is about an inch thick. The peg board needs to stick out
 from the wall so that here is enough space for you to use the hooks.


I found most of the storage containers from Ikea. 
Very easy to use and they can be moved around when needed.
The chairs were $14 each...what a bargain.


Thanks for visiting,
Stephanie

Sunday, February 14, 2010

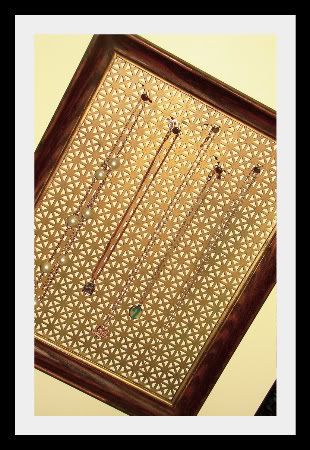
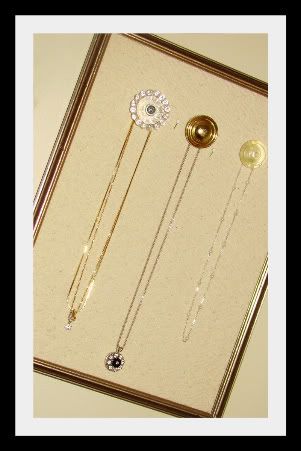
Fun Jewelry Display


I usually have no idea what jewelry I have unless it's laying right out in front of me. 
There have been so many times that I would root thru my jewelry boxes and
 find pieces that I totally forgot that I had. Anyone else like that?

Photobucket

I have been collecting frames and materials for a while now and 
I finally decided to sit down last week and check this project off of my list.
Here's how I did it.


 Materials that I used...frames without glass, old radiator screen, simple fabric,
 random drawer pulls, hot glue, and nails.

Photobucket

Cut the radiator screen to size with tin snips. It cut much easier than I thought. Place it in the frame and nail little trim nails into the corner of the frame and bend the nail flat against the radiator screen. This will hold it tight into the frame. 


Scrambling around the house to find something to hang my jewelry from, I found gold brads. I slipped them thru the holes half way and bent the backs. It worked suprisingly well. Sorry, I didn't get a  picture of them.

Photobucket


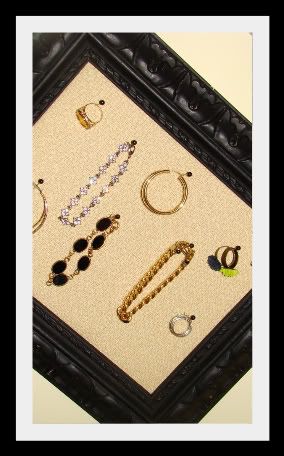
For the fabric covered frames, I simply cut the fabric a little larger than the cardboard backing. I then used hot glue to secure the fabric to the back. I used trim nails to secure it into the frame as well.

Photobucket

This may look a little scary but I needed to be resourceful. My backing was too hard and my pins wouldn't stick into it.  So I used a few sheets of my daughters craft foam. I glued them to the backing with hot glue and trimmed them to fit. Then I covered it with the fabric like I described above.


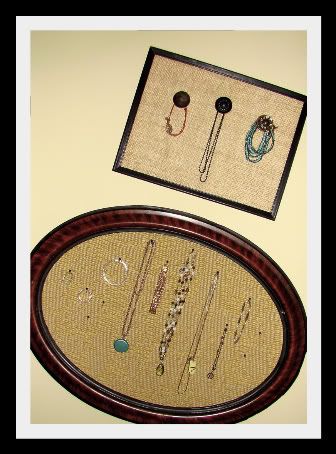
Adding the knobs was easy. Just simply push the screw thru the back and twist into the knob. Hint: if the knob is a little loose, add washers or nuts to fill the gap. I had to add several to one of them so it felt secure.

Photobucket


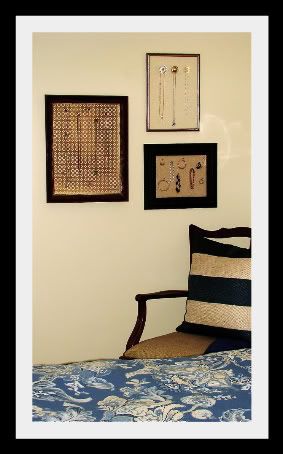
Here is how they turned out. I'll have to be honest. I am truly disappointed in the photos.
 It looks so much better in person. I must have taken a hundred photos, a.m., p.m., flash, no flash. Ugh.


I'm in the process of redoing my bedroom so it looks a little sparse. My brother in law gave us this very large sleigh bed (which I love) so we needed to redo everything. My furniture looks rediculous next to that huge bed. I'll have to post when I'm finished.

Photobucket

Have a great week.

Stephanie
Tuesday, February 9, 2010

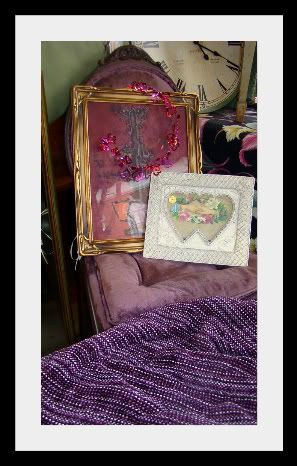
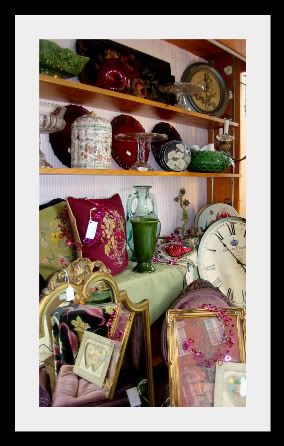
Valentine's Day at the Mercantile Mall

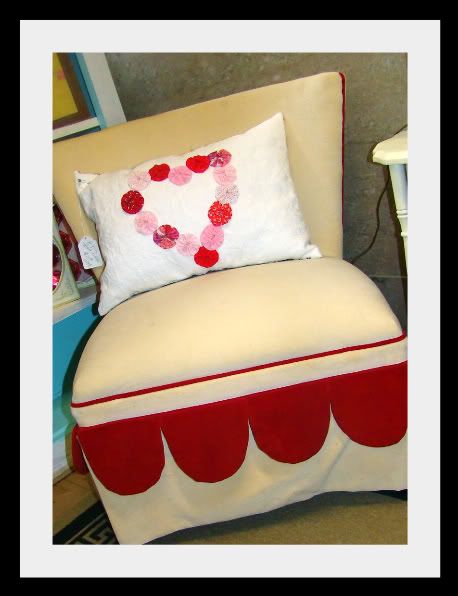
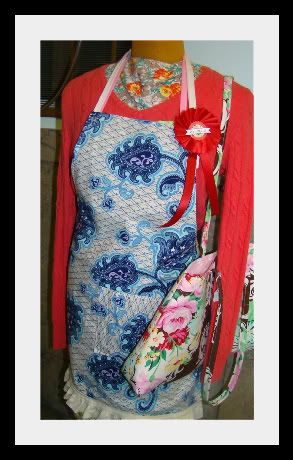
There are so many fun things for sale down at the Mercantile Mall. Every time that I go down to refresh my space, I have to remind myself that I 'm there to make money...not spend it.

Photobucket
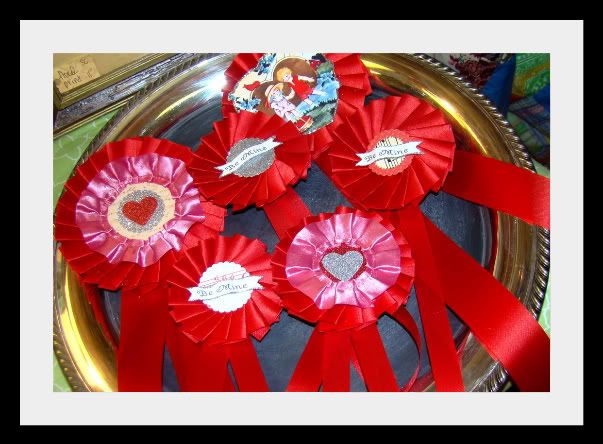
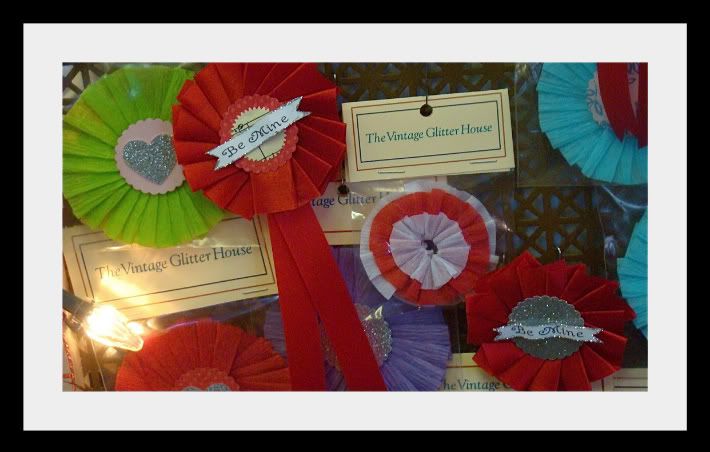
I have been on a crepe paper and ribbon rosette kick lately.
I made a bunch of these valentine ribbons that say "be mine."
Photobucket
Mechelle, from pink daisy's blog is new to the shop.  We love having her there. Her sewing skills and love for vintage fabrics has helped make the shop look fabulous! 
Photobucket

Photobucket
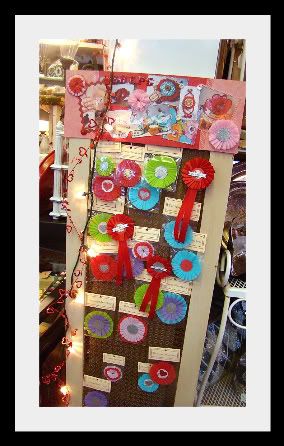
Here are a few more rosettes
Photobucket

Photobucket
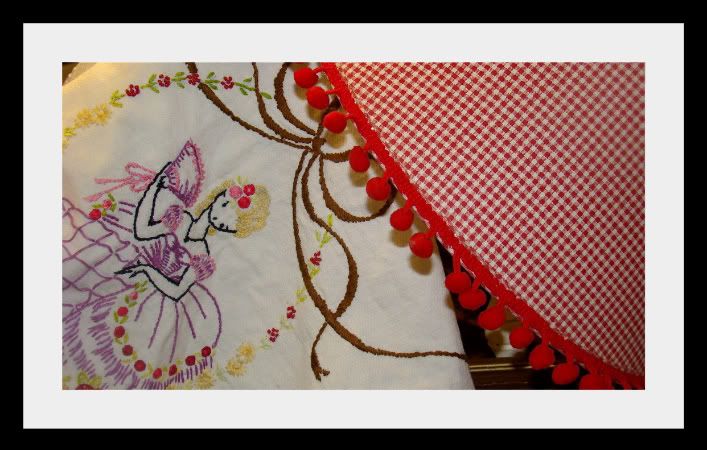
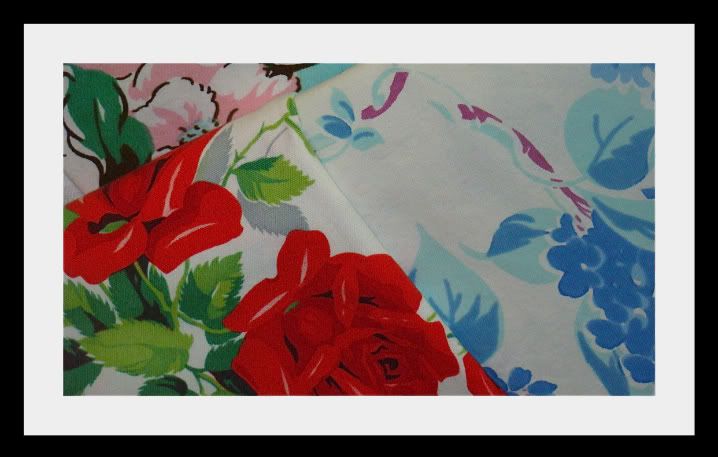
vintage textile and lampshades
Photobucket
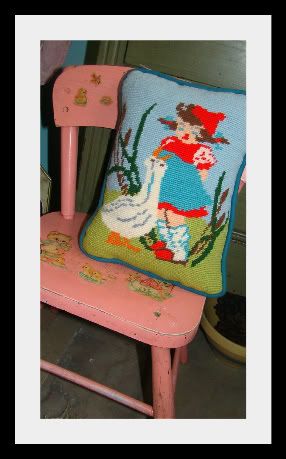
This little wicker chair is so adorable. 
Photobucket

Photobucket

Photobucket
More linens and another cute chair.
Photobucket
We would love for you to visit.

Stephanie
  The Mercantile Mall
100-104 Main Street
Milford OH 

Friday, February 5, 2010

Friday Furniture Makeover

Furniture Feature Fridays


I haven't done Furniture Feature Friday in such a long while.
I can't wait to go through and see all of the amazing projects. I get so inspired by all of talented people in blog land. 
So, if you haven't stopped by Miss Mustard Seeds blog before, today would be a great day to start.
 Not only is Friday filled with great furniture makeovers but during the rest of the week she cranks out one creative project after another.

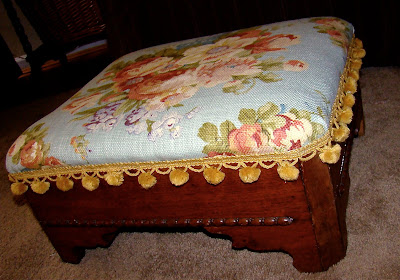
This week I'm featuring a mini furniture makeover, an antique ottoman.

Before

After


I hope everyone has a safe and fun weekend!

Stephanie
If you are ever in Milford, OH...

come see my booth that I share with my friend Brenda. 
The Mercantile Mall
100 & 104 Main Street
Milford, Ohio 45150